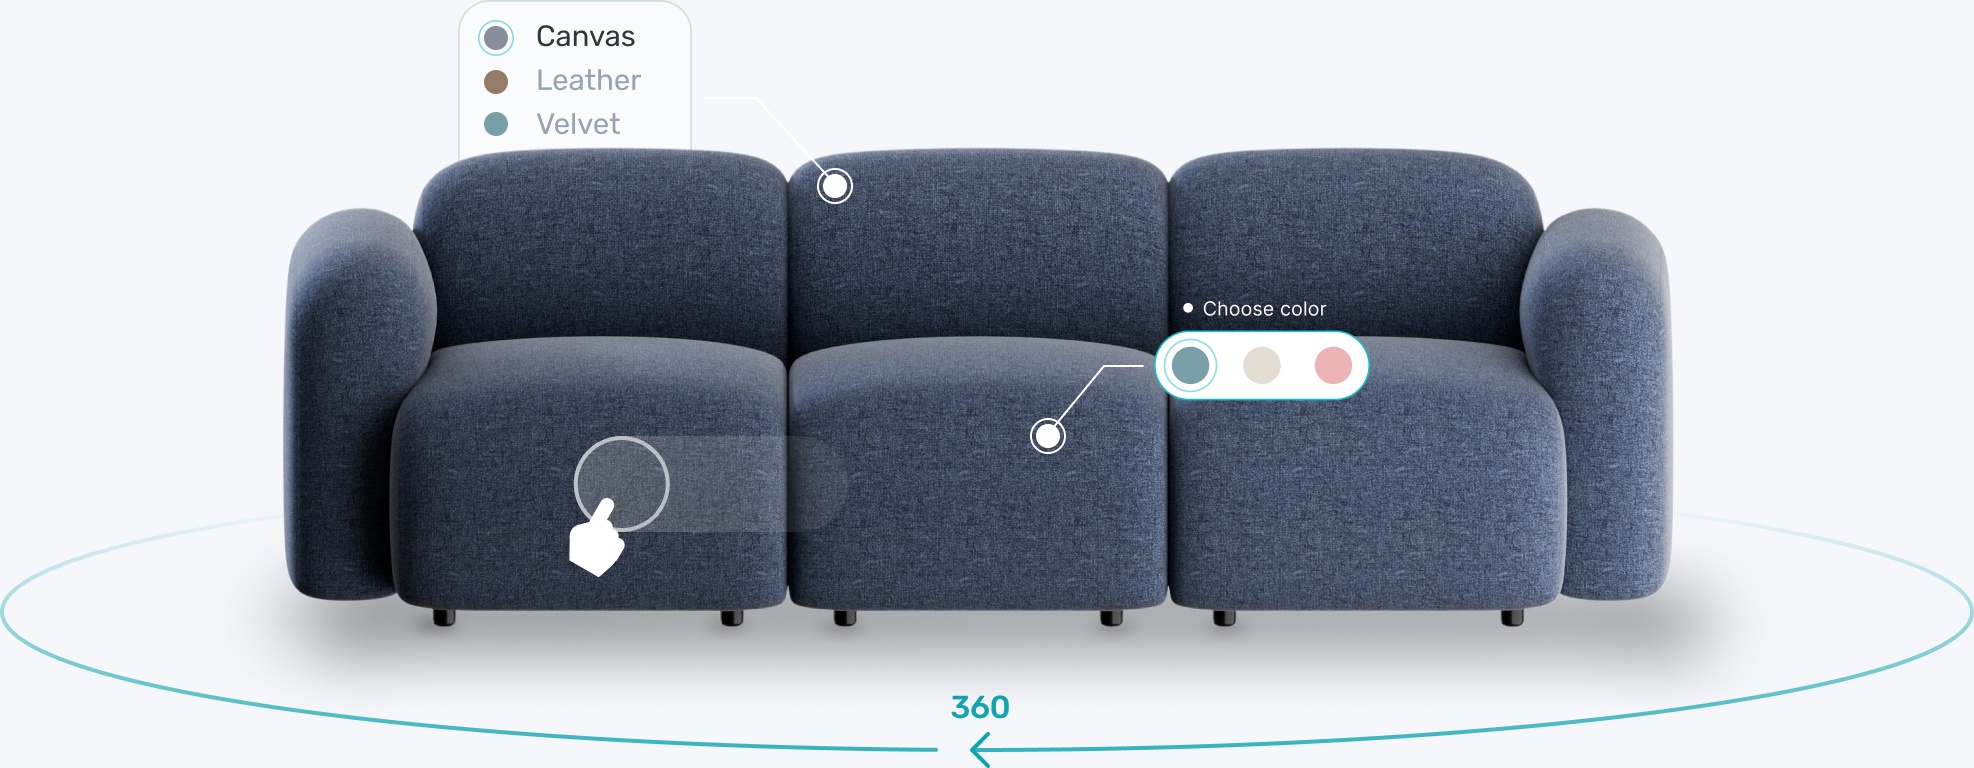
Transform your eCommerce strategy with 3D & AR


3D solutions such as viewers, 360-degree spinners, QR codes, and augmented reality are powerful tools to have in your e-Commerce toolkit.
Once an Modelry customer converts a product into a 3D model, these tools or 3D solutions are instantly available to plug and play into any e-Commerce platform, such as Shopify, Magento, Wordpress, and others.
In this blog, we explain how to embed our 3D solutions in 5 easy steps, how to use our 3D viewer in your online store using Shopify as an example, and why we’re excited about our upcoming automated integration plans.

In order to get started, log into your Modelry account by visiting Modelry website or sign-up for free. Anyone can create a free Modelry account, but of course, you’ll need to import your 3D models before you can start embedding them.
To embed your product using our 3D solutions from the platform, follow these 5 steps:
1. Go to My Products to select the product you want to use:

2. Then click New Embed on the product page:

3. Select the type of viewer you want to generate from the list:

4. Select your product files and click create viewer:

5. Lastly, customize the viewer to your needs and click Save & Publish:

Modelry 3D solutions work on all the major eCommerce platforms (BigCommerce, WooCommerce, Wix, Shopify, Magento, Wordpress, Squarespace, 3DCart, etc).
Here we take a look at the example of how to use Modelry 3D viewer in a Shopify store, but these instructions should also apply to any web content editor with an HTML Text editor.
1. Click on the 3-dot menu next to the viewer you published and select Copy embed code:

2. Next, go to your product page on Shopify and click the Show HTML button in the Description text editor:

3. Paste the copied embed script where you want the 3D viewer to be shown, for example in the product description:

4. Now you should be able to view the 3D Viewer on your product description:

It is also possible to show the 3D viewer as the main product image (like the chair above on the left) instead of within the product description.
This is easily done if, like Shopify, the eCommerce platform you’re using also supports 3D content as media. In which case, simply download the .glb file from Modelry and upload it as media on the product page.
Depending on the page theme, sometimes your 3D Viewer may appear too small. In that case, you can make it bigger by changing the last line of the script and add styling. For example:
<div class="arsenal-viewer" style ="width: 25vw; height 25vw"></div>
The above styling will result in a square viewer in accordance with the viewport size:

If you want to change the script to target a specific class name or ID of the HTML element on your page, you can do so using the embed options:


At present, customers can easily integrate Modelry 3D solutions with their eCommerce platform manually. But we want to make it even better.
That’s why our 3D team is excited to share that they are currently working on providing an automated solution to provide seamless integrations between all the major platforms.
Speaking about our upcoming automation plans, CPO Mindaugas Jankauskas explains,
“At the moment, we’re working on how to help our customers get their products visualized even faster. So that they can start making use of their 3D content as soon as it’s ready and with the least effort possible. And so that means building an integration between our platform and every major eCommerce platform.
Integration would not only help to automate the current tasks performed manually by our customers, but would also provide additional value, including the possibility to monitor and update how the 3D content is being used.”
Stay tuned for more updates on this topic and all things 3D and AR. And for more information on how to use Modelry, search our FAQs or visit the Learning Hub.


